

Introduction
The mParticle integration does not currently support Unified Identity (Identity Resolution) or Portfolio.
Integration
Step 1. Setup MoEngage as output on mParticle
On mParticle dashboard,- Navigate to Setup > Output
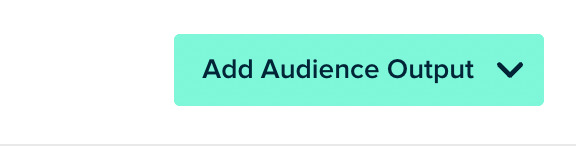
- Go to the Audience tab. Click Add audience output on top right.
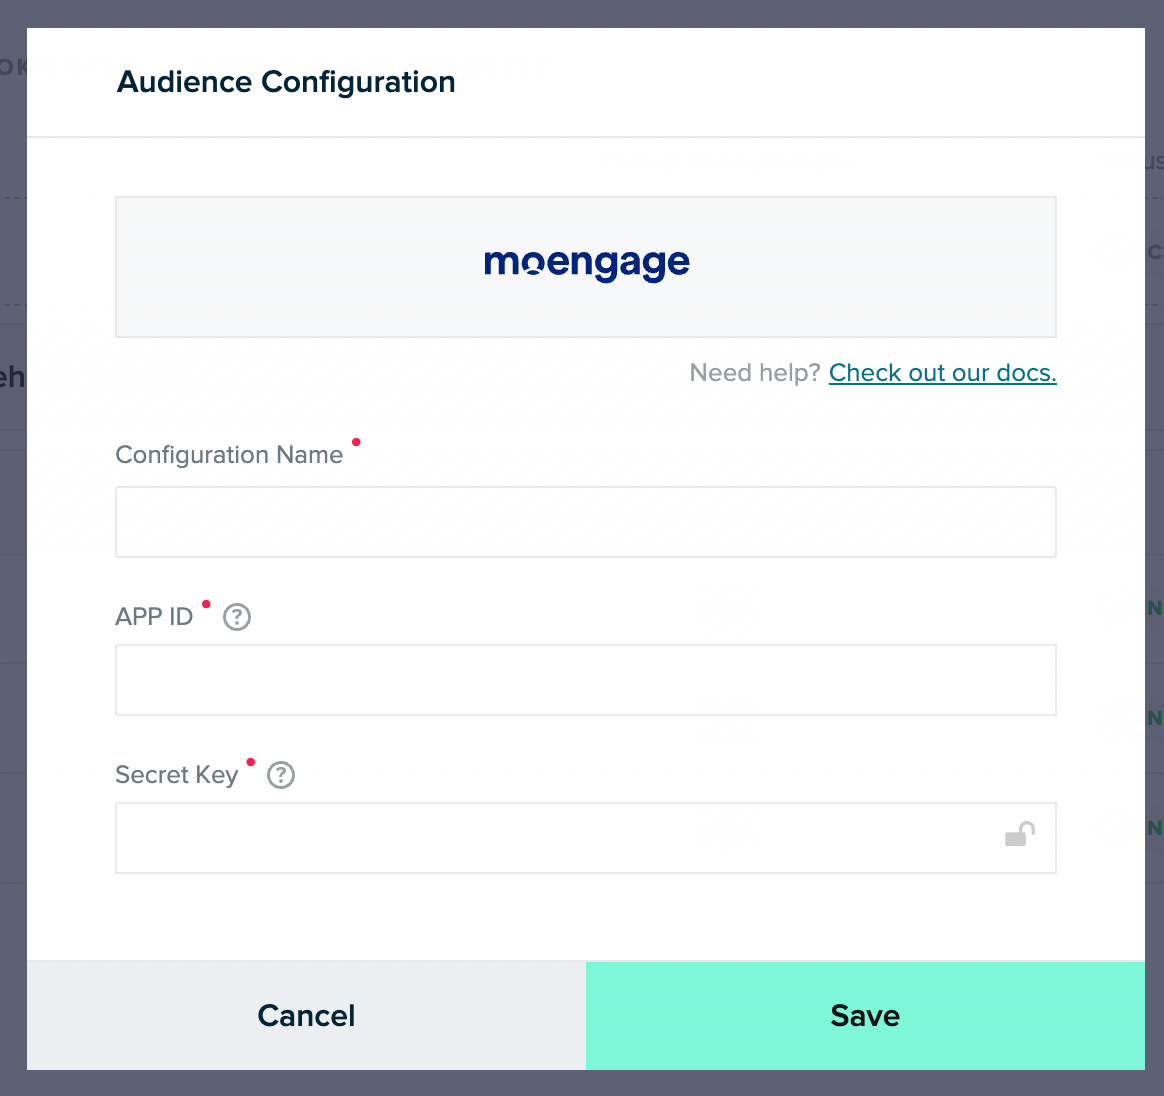
- Search for MoEngage.
- In the pop up, provide the details of your MoEngage app.
Step 2: Create an audience in mParticle
On your mParticle dashboard,- Navigate to Audiences >> + New Audience
- Fill the details on Audience name, and select your desired input source
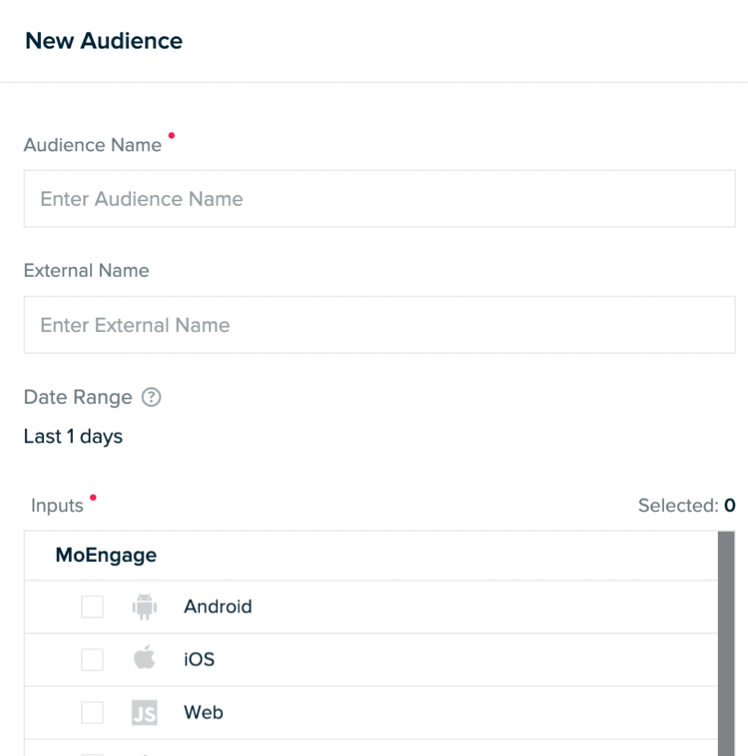
- Click Create. Now, you can define our audience. Read more about creating Audiences in mParticle here. Click Activate.
Step 3: Connect the audience to MoEngage
- Click on your audience and go to the Connect tab.
- Select your MoEngage account here. This is the one that you had configured in Step 1.
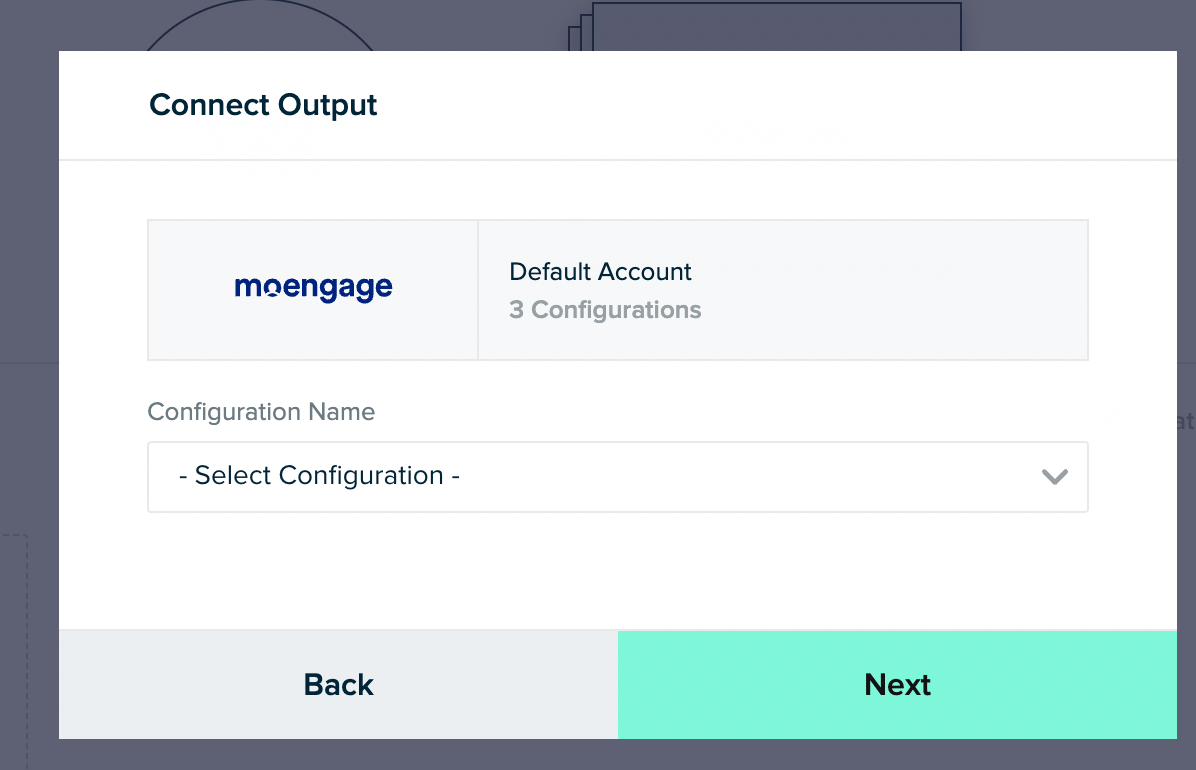
- Turn on the active toggle and click Add Connection.
 On your MoEngage dashboard, navigate to Segment >> Custom segment and search for your audience here. Read more about customer segments in MoEngage.
Rate Limits
MoEngage supports a maximum ingestion rate of 500 RPS (requests per second) per workspace for mParticle data. If this limit is exceeded, MoEngage returns a429 (Too Many Requests) response code. mParticle uses a default retry policy to automatically manage these rate-limiting instances.